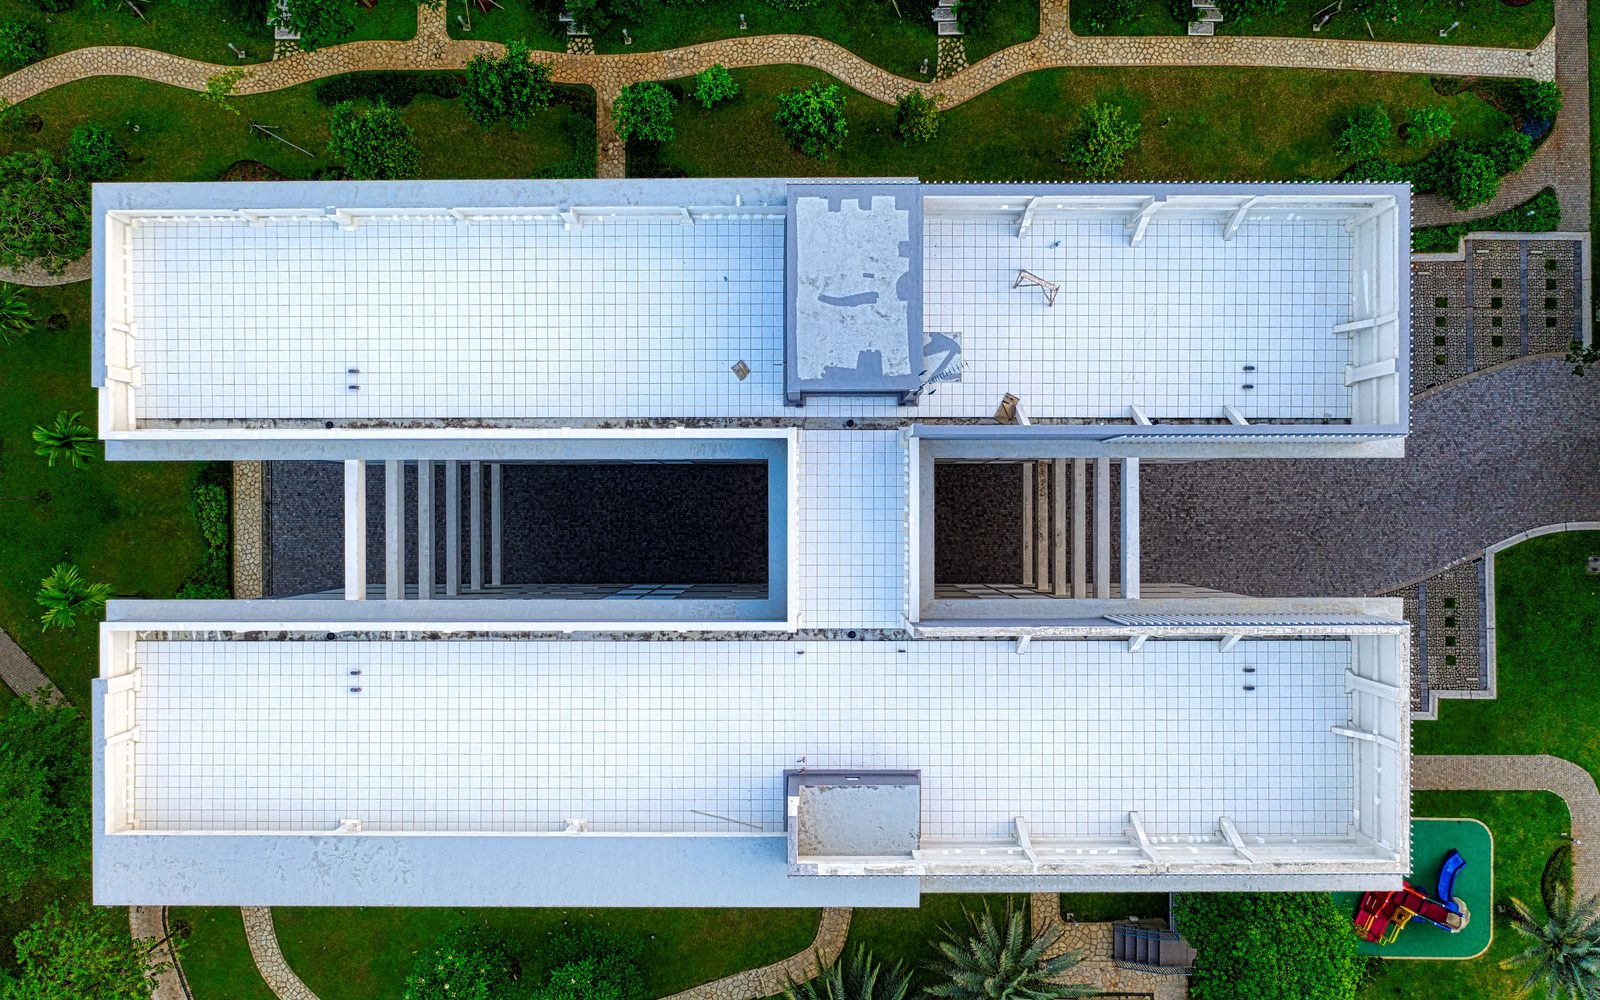
A TPO installation turns separate rolls of membrane into one continuous waterproof surface. The sheets are laid over the prepared assembly, attached mechanically or with adhesive, and then welded to each other with hot air so the overlaps fuse into a single piece of material. Every edge, curb, drain and pipe is then detailed by hand, and the seams are tested before anybody leaves.
Said that way it sounds simple, and the sequence genuinely is. What decides whether the roof reaches its expected life is the quality of a few hundred feet of weld and a few dozen hand formed details, all produced on site in a handful of days. An owner who understands what should be happening during those days has more influence over the outcome than any clause in the contract.
The sequence
- Survey and set out. Confirm the deck, locate the drains, count the penetrations, agree where material is lifted and stored, and establish the fastening zones for wind.
- Strip or prepare. On a tear off, the old roof comes off in sections no larger than can be made watertight by nightfall. On a recover, the existing surface is cleaned and made sound, which is only legitimate if the assembly beneath is dry.
- Repair the deck. Damaged areas are replaced before anything goes over them. This is the step that produces variations, and a bid with a unit rate for deck repair has already dealt with it honestly.
- Lay insulation, in two layers with staggered joints where the specification calls for it, tapered where the roof needs fall.
- Lay the cover board, fastened or adhered, giving the membrane a firm flat substrate.
- Attach the membrane. Mechanically fastened in the laps, fully adhered to the board, or ballasted, with fastener patterns tightened at perimeters and corners.
- Weld the seams. Machine welded along the long runs, hand welded at every corner and detail.
- Detail and terminate. Curbs, pipes, drains, parapets, expansion joints and edge metal.
- Probe and test. Every seam checked, test weld samples recorded, the roof walked with the owner.
Steps one to six are shared with any single ply roof, and flat roof installation covers them in more depth. Steps seven to nine are what make a TPO roof specifically.
Welding is the whole job
TPO is thermoplastic, which means heat softens it and it fuses to itself. That property is the reason the material is used: a welded seam is a continuation of the sheet rather than a joint held by adhesive, and it can be rewelded years later for a repair.
It also means three variables decide whether the roof is sound: temperature, speed and pressure. Get them right and the seam is stronger than the membrane. Get them wrong in either direction and the result is a seam that holds through the handover and fails in service, either because the sheets were never properly fused or because the membrane was cooked thin.
Those variables shift with the weather. A machine set correctly at seven in the morning is set wrongly by midday if the wind drops and the sun comes out, which is why competent crews reset and retest through the day rather than once.
Probing, and what it proves
When the welding is finished, every seam is checked by running a blunt probe along the edge of the lap. A sound weld resists it. An unwelded or underwelded section lets the probe in, and that section is marked and rewelded on the spot.
It is slow, unglamorous and the single most valuable quality step on the roof. Ask whether every seam will be probed, who does it, and whether the probing is recorded. Some specifications also call for air lance or vacuum testing on critical areas.
A moisture scan after completion is worth considering on a large roof, because it establishes a dry baseline. Any water found later can then be attributed to something that happened after handover rather than argued about.
The working day, and what happens at night
A single ply roof under installation is open. Whatever is not finished when the crew leaves has to survive the night, and on a building in use that is the risk worth asking about before work starts.
Competent practice is to open only as much roof as can be made watertight the same day, and to seal the leading edge of the new membrane down to the deck or the old roof with a temporary water cut off. Material is kept covered, and work stops when the surface is wet rather than when the forecast is wrong.
So three questions are worth asking at the preconstruction meeting. How much roof will be open at once. What happens to the leading edge each evening. Who is called, and how quickly, if it rains overnight and water gets in. The answers tell you whether the program has been thought through or simply priced.
Weather also decides more of the schedule than owners expect. Rain stops work entirely, and so does standing water from the previous day, heavy dew, frost or wind strong enough to make handling sheet material unsafe. A contractor who gives you a fixed finish date for a large roof with no weather allowance is telling you something about either the estimate or the honesty of the schedule.
The details decide the leaks
A TPO field in open area almost never leaks. Roofs leak at the interruptions, and every interruption is formed by hand:
- Curbs: membrane turned up the side and terminated above the water line, with a bar and sealant at the top.
- Pipes: a prefabricated boot where one fits, a hand formed and welded wrap where it does not.
- Drains: membrane dressed into the bowl and held by a clamping ring, with the surrounding area sloped to it.
- Inside and outside corners: prefabricated where possible, because hand formed corners are the hardest weld on the roof.
- Parapets and walls: taken high enough and terminated properly rather than tucked and sealed.
- Edge metal: fastened and stripped in, since the perimeter is where wind starts to take a roof apart.
Roof flashing types explains what each of those details is doing, and the time to look at them is while they are being made.
What to check before you accept the roof
- Walk every detail with the contractor, kneeling at each one.
- Ask for the test weld samples and the probing record.
- Ask for photographs of the deck, the insulation and the corner fastening before they were covered.
- Check the drains run, ideally with a hose.
- Confirm both warranty documents have been issued, system and workmanship.
- Agree the maintenance the warranty requires, and who will be doing it.
Where to go next
If you are still deciding on the membrane, TPO roofing explained covers what the material does well and badly, and TPO against PVC and EPDM sets the three side by side. If the specification is settled and you are comparing bids, the roofing quote checklist turns this sequence into the questions each bidder should be able to answer.
Common questions
How are TPO seams welded?
With hot air, not adhesive. A welding machine runs along the overlap, heats both sheets until the surfaces melt, and a roller presses them together so the two become one piece of material. Done correctly the seam is stronger than the sheet either side of it.
- Hot air welding fuses the sheets rather than gluing them
- Automatic machines weld the long runs
- Hand welders are used at corners and details
- Temperature, speed and pressure all have to be right
- The surface must be clean and dry to weld at all
Those three settings are where skill lives. Too cool or too fast and the sheets are stuck rather than fused, which holds on the day and opens in service. Too hot or too slow and the membrane is scorched and weakened. Both faults look identical from the ground on the week the roof is finished, which is why welding quality is verified by test welds and probing rather than by appearance. Dirt and moisture in the lap prevent a weld entirely, so housekeeping is part of the trade.
What is a test weld, and why does every shift start with one?
A short sample welded on site at the start of work and after any change in conditions, then pulled apart by hand or with a tool. It proves the machine settings are right for that membrane, that thickness and that day's weather before any of the actual roof is welded.
- Taken at the start of each shift, on that day's material
- Repeated when temperature, wind or humidity change
- The sample is peeled to see how it fails
- A good weld tears the sheet, not the seam
- Samples should be kept and recorded
How the sample fails is the whole point. A proper weld cannot be peeled apart at the seam: the membrane tears through its own thickness instead, which shows the two sheets have genuinely become one. A seam that separates cleanly was never welded, only softened and pressed. Ask whether test welds are taken, who records them and whether the samples are retained, because that record is the simplest evidence that the crew were controlling the process rather than hoping.
Can TPO be installed in cold weather?
Yes, with adjustments. Cold and wind pull heat out of the weld zone, so settings change, the membrane is stiffer and harder to lay flat, and adhesives have minimum application temperatures that cold mornings fall below. What cannot be worked around is moisture in the lap.
- Welding settings change with temperature and wind
- Membrane is stiffer and wants time to relax
- Adhesives and primers have temperature minimums
- Frost, dew and damp prevent a sound weld
- Shorter daylight means less roof open at once
The risk in cold weather is not the welding itself, which an experienced crew manages, but the temptation to keep going when the surface is not dry. Dew and frost form overnight and sit in the lap, and a weld over either will fail. That is why work often starts late on a cold morning and why a crew that opens less roof per day in winter is managing the job rather than slowing it. Ask how the roof is protected and sealed at the end of each day.
What happens at a curb or a pipe on a TPO roof?
The membrane is taken up the side of the obstruction and terminated above the water line, using either a prefabricated corner and pipe boot or a piece cut and welded by hand. These details are welded with a hand tool rather than a machine, one at a time.
- Membrane turns up the curb and terminates above water
- Prefabricated boots and corners are more reliable
- Inside and outside corners are welded by hand
- A termination bar and sealant finish the top edge
- Drains need a clamping ring, not just a weld
Count the details on your roof before the work starts, because the number of curbs, pipes, drains and corners predicts both the price and the risk far better than the area does. Each one is formed by hand on the day, and the roof is only as good as the worst of them. On handover, every detail is worth a photograph and a close look, since this is where a roof that was finished well and a roof that was finished quickly look different to anybody who kneels down.
What goes wrong most often on a TPO installation?
Seams welded in a hurry, details formed badly and a wet substrate covered over. The first two are workmanship, the third is a decision somebody made to keep to the program, and all three are invisible from the ground once the roof is complete.
- Underwelded or scorched seams that fail later
- Hand welded corners rushed or left incomplete
- Fasteners driven to the field pattern at the corners
- Wet insulation covered rather than replaced
- Terminations and edge metal left short
The pattern across all five is the same: each one saves a little time and none of them show for several years. That is why the useful owner involvement is during the work rather than at the end. Walk it while it is open, ask what happens at the end of each day, ask to see the test weld samples, and ask for photographs of the fastening at a corner. None of that requires knowing how to weld, and all of it tells a crew that somebody is paying attention.